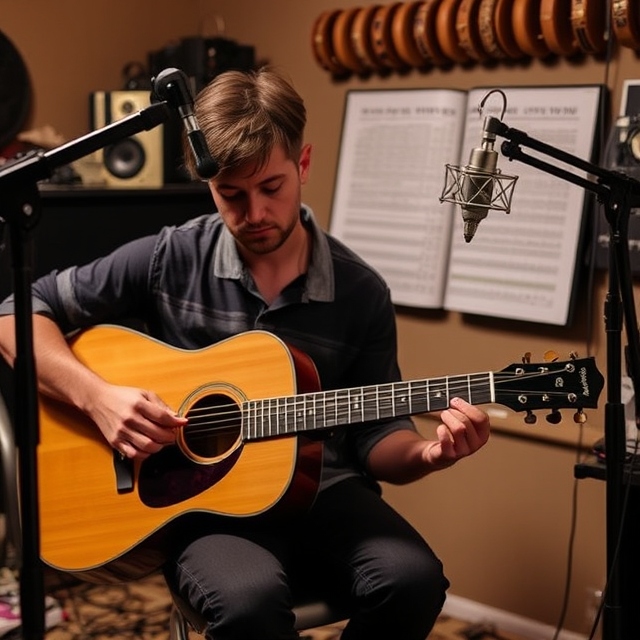
Recording an acoustic guitar requires precision, the right equipment, and proper technique to capture its rich and nuanced sound. Whether you’re a home studio enthusiast or a professional musician, understanding how to record an acoustic guitar effectively can make all the difference in producing quality tracks. In this guide, we’ll cover everything you need to know, from essential equipment to advanced techniques, ensuring you achieve clear and professional sound in your recordings.
Essential Equipment for Recording Acoustic Guitar
Before diving into recording, make sure you have the necessary equipment:
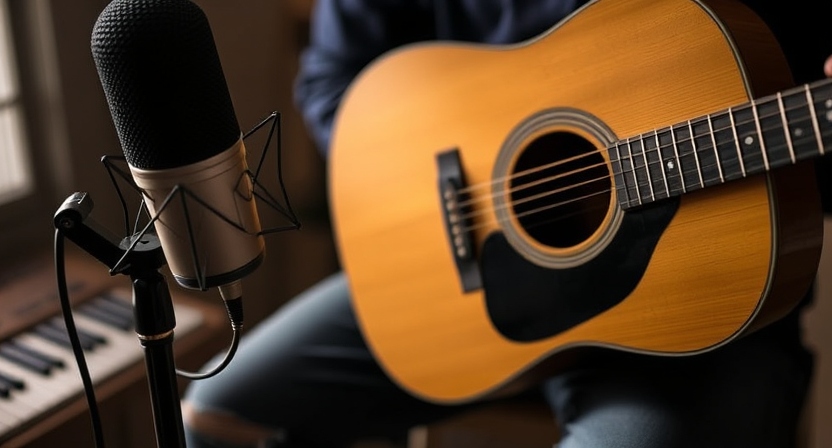
Microphones
Microphones are the heart of acoustic guitar recording. Common choices include:
- Condenser Microphones: Known for their sensitivity and ability to capture detailed high frequencies. Examples: Audio-Technica AT2020, Neumann KM184.
- Dynamic Microphones: Rugged and less sensitive to ambient noise, suitable for live recordings. Examples: Shure SM57, SM7B.
- Ribbon Microphones: Offer warm and natural tones but are more delicate. Examples: Royer R-121.
Audio Interface
An audio interface converts your guitar’s analog sound into digital signals for your computer. Look for interfaces with high-quality preamps. Popular options include:
- Focusrite Scarlett 2i2
- PreSonus AudioBox USB 96
- Universal Audio Apollo Twin.
DAW (Digital Audio Workstation)
You’ll need software to record, edit, and mix your acoustic guitar tracks. Some beginner-friendly and professional DAWs are:
- GarageBand (Mac)
- Logic Pro X
- Ableton Live
- Pro Tools.
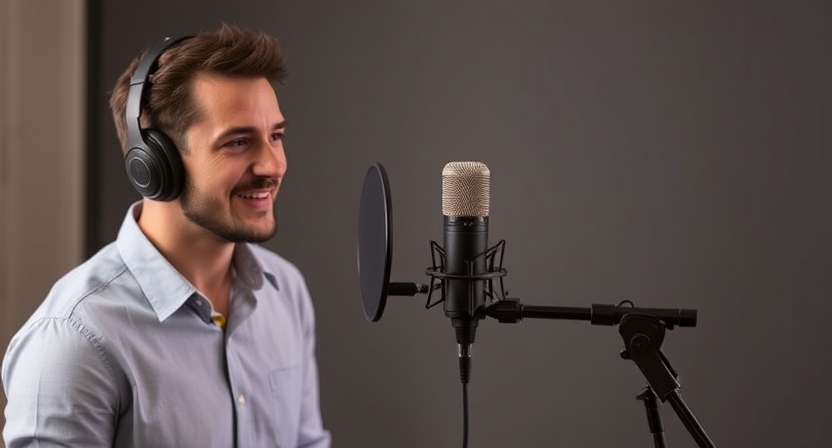
Additional Gear
- Headphones: Closed-back headphones like the Audio-Technica ATH-M50x for monitoring during recording.
- Pop Filter: Reduces unwanted plosive sounds.
- Mic Stand and Shock Mount: To keep the microphone stable and prevent handling noise.
Preparing Your Acoustic Guitar for Recording
The quality of your guitar’s sound plays a major role in your recordings. Follow these preparation steps:
String Condition
- Ensure your guitar strings are fresh, as old strings can sound dull.
- Choose string gauges that suit your playing style; lighter gauges produce a brighter tone, while heavier gauges offer deeper resonance.
Tuning
- Use a reliable tuner to ensure your guitar is perfectly in tune. Slight intonation issues can become noticeable in recordings.
Room Selection
- Opt for a room with minimal echo and background noise. Rooms with carpets, curtains, or acoustic panels reduce reflections and unwanted reverb.
Guitar Maintenance
- Clean the fretboard and body to eliminate squeaks or handling noise during recording.
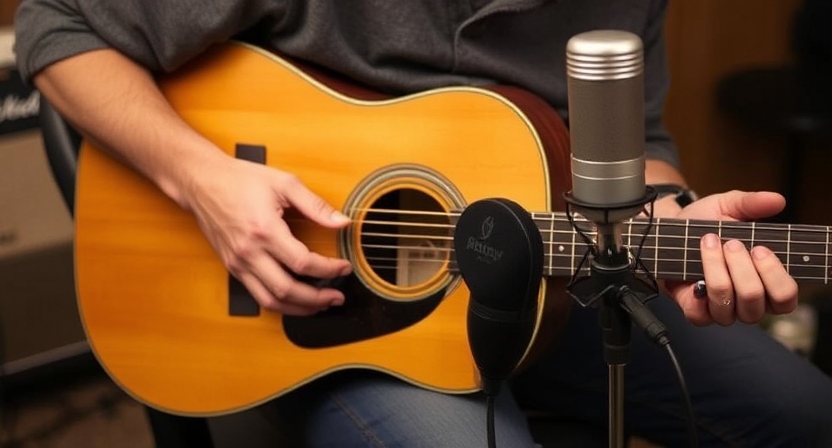
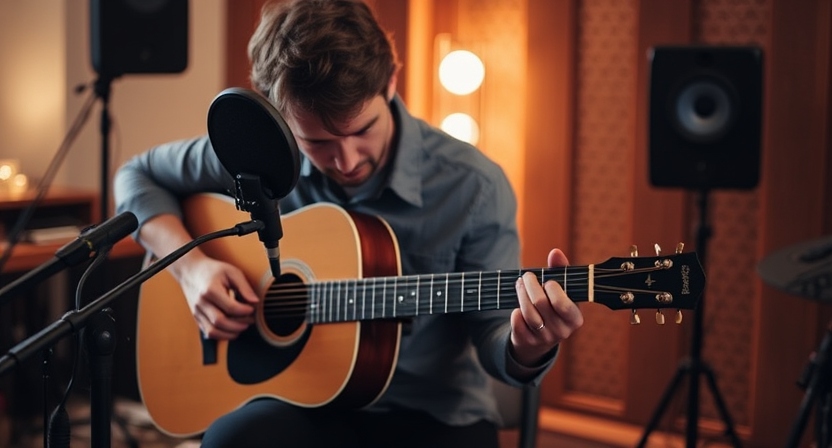
Microphone Placement Techniques
Microphone placement is critical in capturing the best sound from your acoustic guitar.
Popular Microphone Techniques
- X/Y Stereo Pair: Place two condenser microphones at a 90-degree angle, positioned above the soundhole. This technique creates a stereo effect.
- Spaced Pair: Use two microphones placed apart, one near the 12th fret and the other near the bridge, for a wide stereo image.
- Mid-Side (M/S) Technique: Uses one cardioid microphone for direct sound and one figure-8 microphone for room ambiance, offering flexibility during mixing.
- Single Mic Technique: Place a single microphone 6–12 inches from the 12th fret for a balanced tone.
Avoiding Common Issues
- Don’t position the microphone directly over the soundhole to avoid excessive bass.
- Maintain consistent mic distance to prevent volume fluctuations.
Recording Techniques for Acoustic Guitar
Use a Click Track
- A click track ensures your performance stays in time, especially if you plan to layer additional instruments.
Layer Tracks for Depth
- Record multiple takes and layer them to create a fuller sound. Experiment with slight variations in mic placement or playing dynamics.
Experiment with Dynamics
- Vary your strumming or picking strength to capture different tonal textures. This adds character to your recording.
Use Fingerpicking or Strumming
- Decide whether the piece requires delicate fingerpicking or bold strumming, as each technique produces a distinct tonal quality.
Mixing and Editing Acoustic Guitar Tracks
After recording, the post-production phase is where your track comes to life.
EQ (Equalization)
- Cut frequencies below 80Hz to remove rumble.
- Boost 2–5kHz for clarity and articulation.
- Add warmth with a slight boost around 200–400Hz.
Compression
- Apply light compression to even out dynamics without losing natural expression.
Reverb
- Add subtle reverb to simulate room ambiance. Avoid overuse to maintain clarity.
Panning
- For stereo recordings, pan each track slightly left and right to create a wide soundscape.
Dealing with Noise
- Use noise reduction plugins to eliminate any hiss or unwanted background noise.
Advanced Tips for Pro-Level Acoustic Guitar Recordings
Double-Tracking
- Record the same part twice with slightly different mic placements. Pan one track left and the other right for a rich stereo sound.
Blend DI and Mic Signals
- If your guitar has a pickup system, record both the direct signal and mic signal. Blend them to combine clarity with natural warmth.
Experiment with Effects
- Use chorus or delay sparingly for unique textures, especially in creative or experimental genres.
Troubleshooting Common Recording Problems
Unwanted String Noise
- Use a lighter touch or experiment with coated strings to minimize squeaks.
Clipping
- Lower the input gain on your audio interface to avoid distortion from overly loud signals.
Flat Sound
- Experiment with mic placement and ensure your guitar’s strings and setup are in top condition.
Conclusion
Recording an acoustic guitar is both an art and a science. With the right equipment, preparation, and techniques, you can capture the full beauty of your instrument and bring your music to life. Whether you’re a beginner setting up a home studio or an experienced musician refining your craft, this guide provides the tools and tips you need to create professional-quality recordings.
Start experimenting today and unleash the full potential of your acoustic guitar in every recording session. Have questions or want recommendations on gear? Feel free to ask!