
A broken guitar string can be frustrating, but don’t worry – fixing it is simpler than it seems! At Aguitar Blog , we’re here to guide you step by step on how to fix a broken guitar string at home. Whether you’re preparing for your next practice session or a live performance, this comprehensive guide will help you get back to playing in no time. Let’s dive in and bring your guitar back to life!
What Causes Guitar Strings to Break?
Before diving into the repair process, it’s helpful to understand why strings break:
- Wear and Tear: Over time, strings naturally weaken due to repeated use.
- Improper Tension: Over-tightening can cause strings to snap.
- Sharp Edges: Sharp surfaces on the nut, bridge, or frets can wear down strings.
- Playing Style: Aggressive strumming or bending can lead to string breakage.
Tools and Materials You’ll Need

To replace a broken guitar string, gather these essential tools:
- Replacement String: Ensure it matches the type and gauge of your other strings.
- String Winder (Optional): Speeds up the winding process.
- Wire Cutters: To trim excess string after installation.
- Tuner: For precise tuning once the string is installed.
- Pliers: Useful for removing bridge pins (acoustic guitars).
Step-by-Step Guide to Fix a Broken Guitar String
Remove the Broken String

Loosen the String: Turn the tuning peg counterclockwise to release tension.
Detach from the Bridge:
- For acoustic guitars: Remove the bridge pin using pliers or a bridge pin puller, then pull out the string.
- For electric guitars: Slide the string out of the bridge or tailpiece.
Dispose of the Old String: Be careful with sharp ends to avoid injury.
Select and Prepare the New String

Choose the Correct String: Match the new string to the gauge and type of the remaining strings for consistent tone.
Uncoil the String: Carefully remove it from its packaging to avoid kinks or tangles.
Attach the New String to the Bridge
Acoustic Guitar: Insert the ball end of the string into the bridge hole, then secure it with the bridge pin. Make sure the string’s ball end is snug and seated properly.
Electric Guitar: Feed the string through the appropriate hole in the bridge or tailpiece.
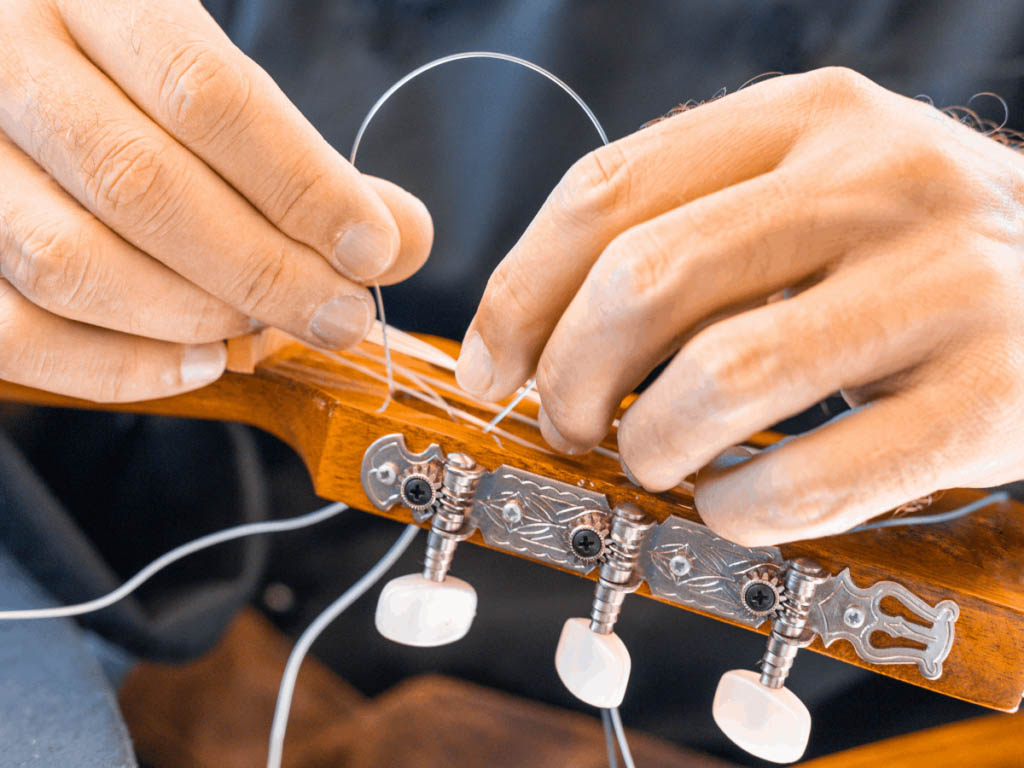
Thread the String Through the Tuning Peg

Pull the string up to the headstock and insert it through the hole in the tuning peg.
Leave about 2–3 inches of slack to ensure proper winding.
Wind the String

Start Winding: Use your hand or a string winder to turn the tuning peg clockwise.
Ensure Neat Coiling: The string should coil neatly around the tuning peg, starting from the top and winding downward.
Keep slight tension on the string as you wind to prevent slack.
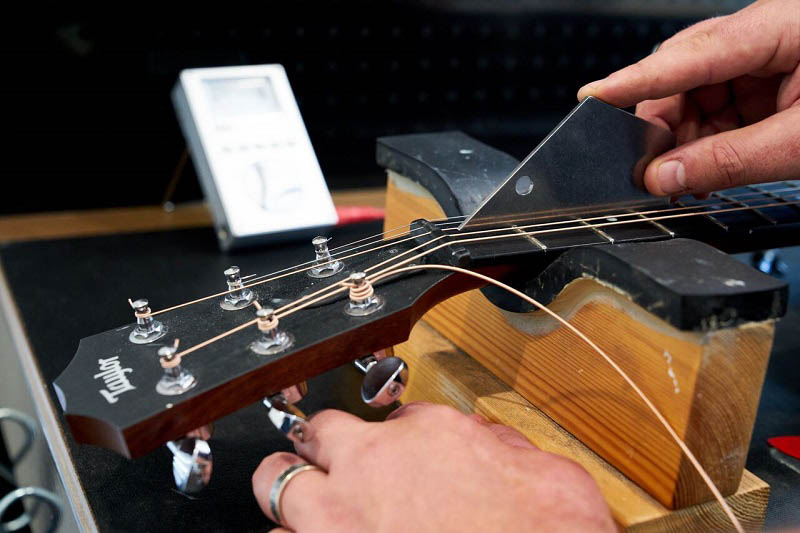
Tune the String

Use a tuner to bring the string to its correct pitch.
Stretch the string gently by pulling it away from the fretboard, then retune. Repeat this process a few times to stabilize the tuning.
Trim Excess String

Use wire cutters to trim the extra string at the tuning peg, leaving about 1 inch for safety.
Tips for a Smooth String Replacement Process

Be Patient: Take your time to ensure each step is done correctly.
Inspect the Guitar: Check for sharp edges on the nut or bridge that could damage the new string.
Stretch the String: Proper stretching helps the string hold its tune faster.
Troubleshooting Common Issues
String Won’t Stay in Tune: Ensure the string is wound tightly and evenly on the peg. Stretch the string thoroughly.
Buzzing Sound: Check if the string is properly seated in the nut and bridge slots.
Difficulty Removing Bridge Pins: Use a bridge pin puller or gentle pliers pressure to avoid damage.
How to Prevent Future String Breakage

Change Strings Regularly: Old strings are more likely to snap.
Clean Strings After Playing: Wipe strings with a soft cloth to remove dirt and sweat.
Check Hardware: Inspect the bridge, nut, and frets for sharp edges or wear.
Store the Guitar Properly: Keep your guitar in a stable environment with controlled humidity to protect the strings.
Learning how to fix a broken guitar string is an essential skill for every guitarist. Not only does it save you time and money, but it also helps you stay prepared for any unexpected breakages. At Aguitar Blog, our mission is to equip you with practical solutions and expert tips to enhance your guitar journey. For more guides and insights, stay connected with Aguitar Blog, your go-to resource for everything guitar-related!